pumpkin-chocolate chip sourdough
After floating in a sea of pumpkin delight on Instagram, I decided to shoot my best shot and try to create something suitable for artisan sourdough with the addition of pumpkin. I don’t know if this is my best shot, I see what more has to be done for this loaf to improve, but until I try to shoot again, I’ll leave you with this one. It’s still beautiful and it tastes incredible. Many more to follow.
I’ve baked pumpkin sourdough before but not nearly as well as this one. My mistake was that I was always adding more water without considering the water that comes from the pumpkin. So my biggest improvement here is that I finally lowered the hydration not only in the dough but also in the pumpkin by squeezing the water out of it. There’s a lot of water in a pumpkin. So much that a full bowl of baked pumpkin is left with just a handful after you squeeze out the water. So you have to measure the 170g after the water is removed.
HOW the pumpkin affects the dough
Without the water from the pumpkin, the texture of the crumb improves tremendously. It’s not wet and sticky, it doesn't feel heavy. My previous pumpkin loaves felt stompy. You know, you stomp with Dr. Martens but you strut with Jimmy Choo kinda a thing. The crumb was still open but it was heavy with moister.
After you squeeze the water out of the pumpkin, you are left with the fiber and the smoothest texture. It’s creamy and that enriches the dough. It makes it extra silky. By the way, don’t throw away the water from the pumpkin. I saved mine and will be using it for a loaf of bread.
Also the pumpkin kind of tightens the dough but that could be misleading. For example, it maintains shape well after a time has past since the last coil fold and it makes you think it doesn’t need more than two folds. That was the case for this loaf. I did only two folds because the dough looked very much in good shape. But when I turned it over for shaping, it was weak and extensible, and elasticity was absent. It still had structure from fermentation, you probably saw how it looked in my video on Instagram, but it was still slack.
I think the egg saved me here since it added extra protein to the dough and helped with strength. Yes, I added an egg as part of he hydration as I’ve done many times for the last two years. For this pumpkin loaf, an egg really works well being a part of the choco-pumpkin team. Team work is the best! Every member brings unique input and that’s how magic happens.
Since I saw lots of recipes of chocolate-pumpkin cakes and muffins, I thought the chocolate chips would compliment my loaf very well. When they melted into the crumb, the oils from the chocolate completed the flavor, and I used milk chocolate, which is warmer and softer.
The rate of fermentation is also affected by the pumpkin. It speeds up. But that happens towards the end…at least that’s what I observed. I didn’t mean to do 9h bulk fermentation here, I was ready to shape after 8h. You should pay attention to the dough and watch closely because towards the end, it just grows a lot and it’s unstoppable even in the fridge. What saved me not ending up with a flat loaf, was again the strength of the egg. Also the fats and the sugars from the chocolate played a good role by hardening the dough in the cold fridge and made it more manageable. The dough was huge in the proofing basket as you saw in my video. But it didn’t spread at all when I flipped it over for shaping and scoring. I think all of that, the egg, the fats and sugars, contributed to the dough structure appearing stronger after just two coil folds.
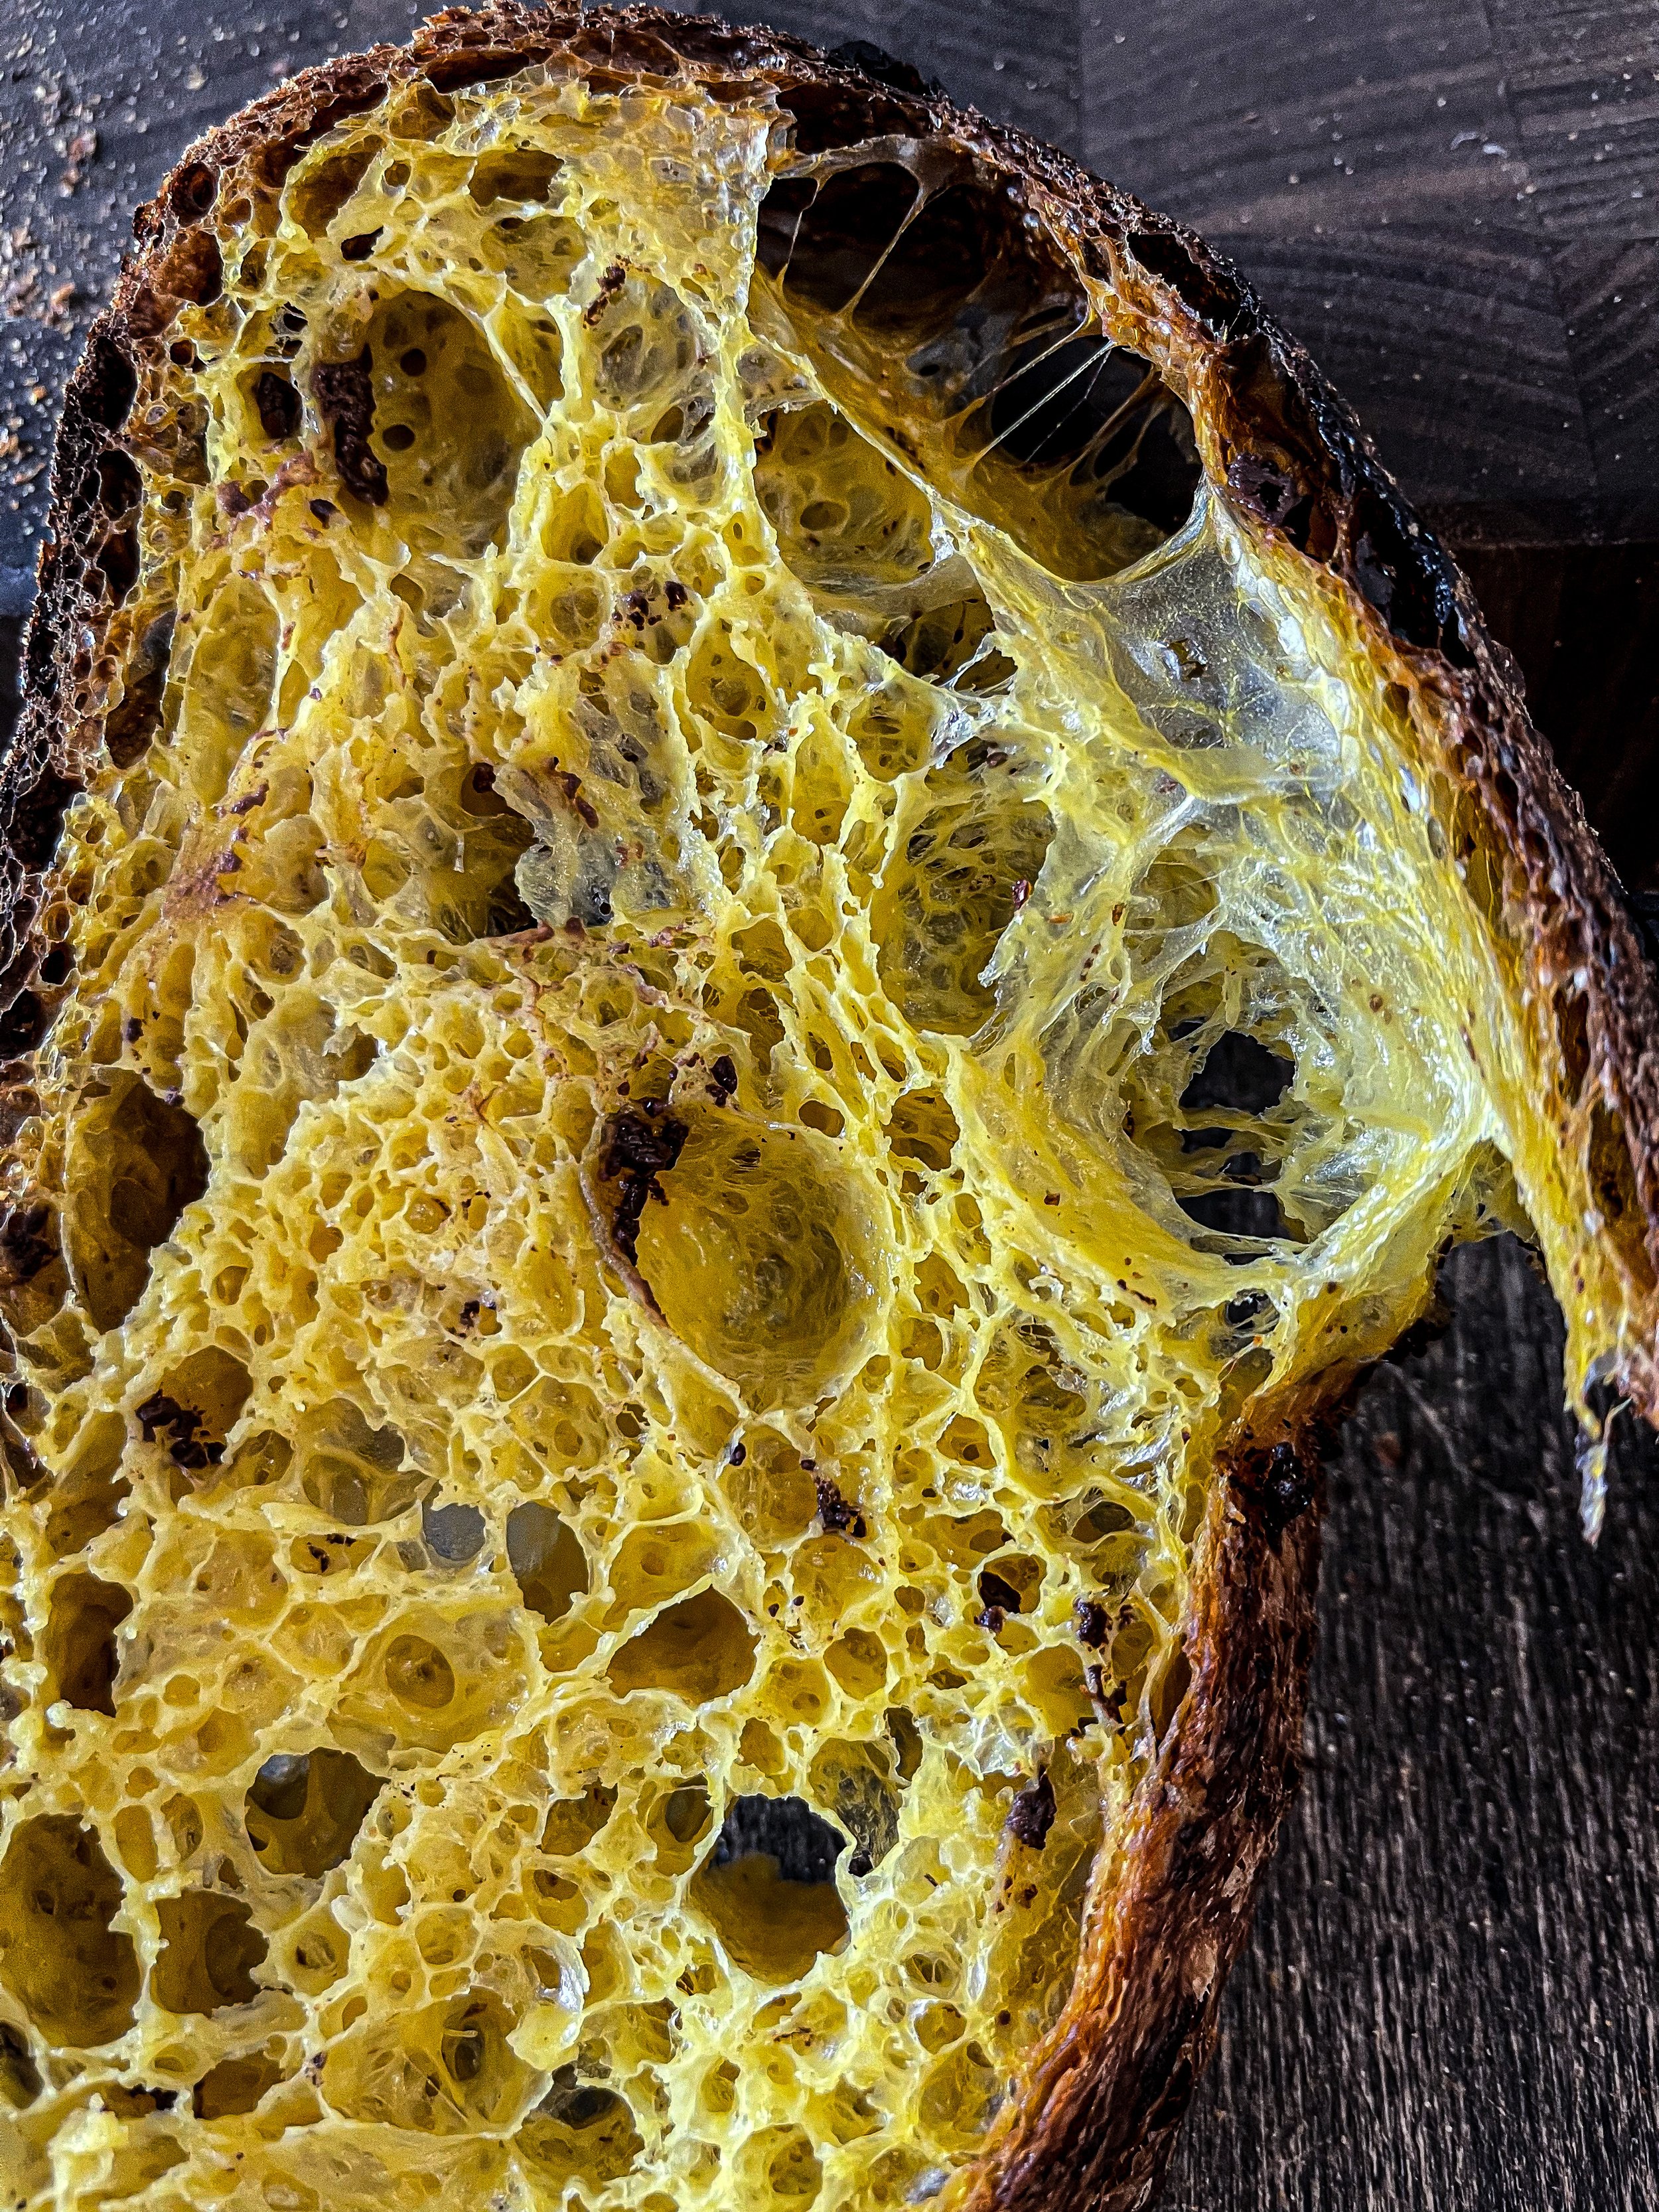
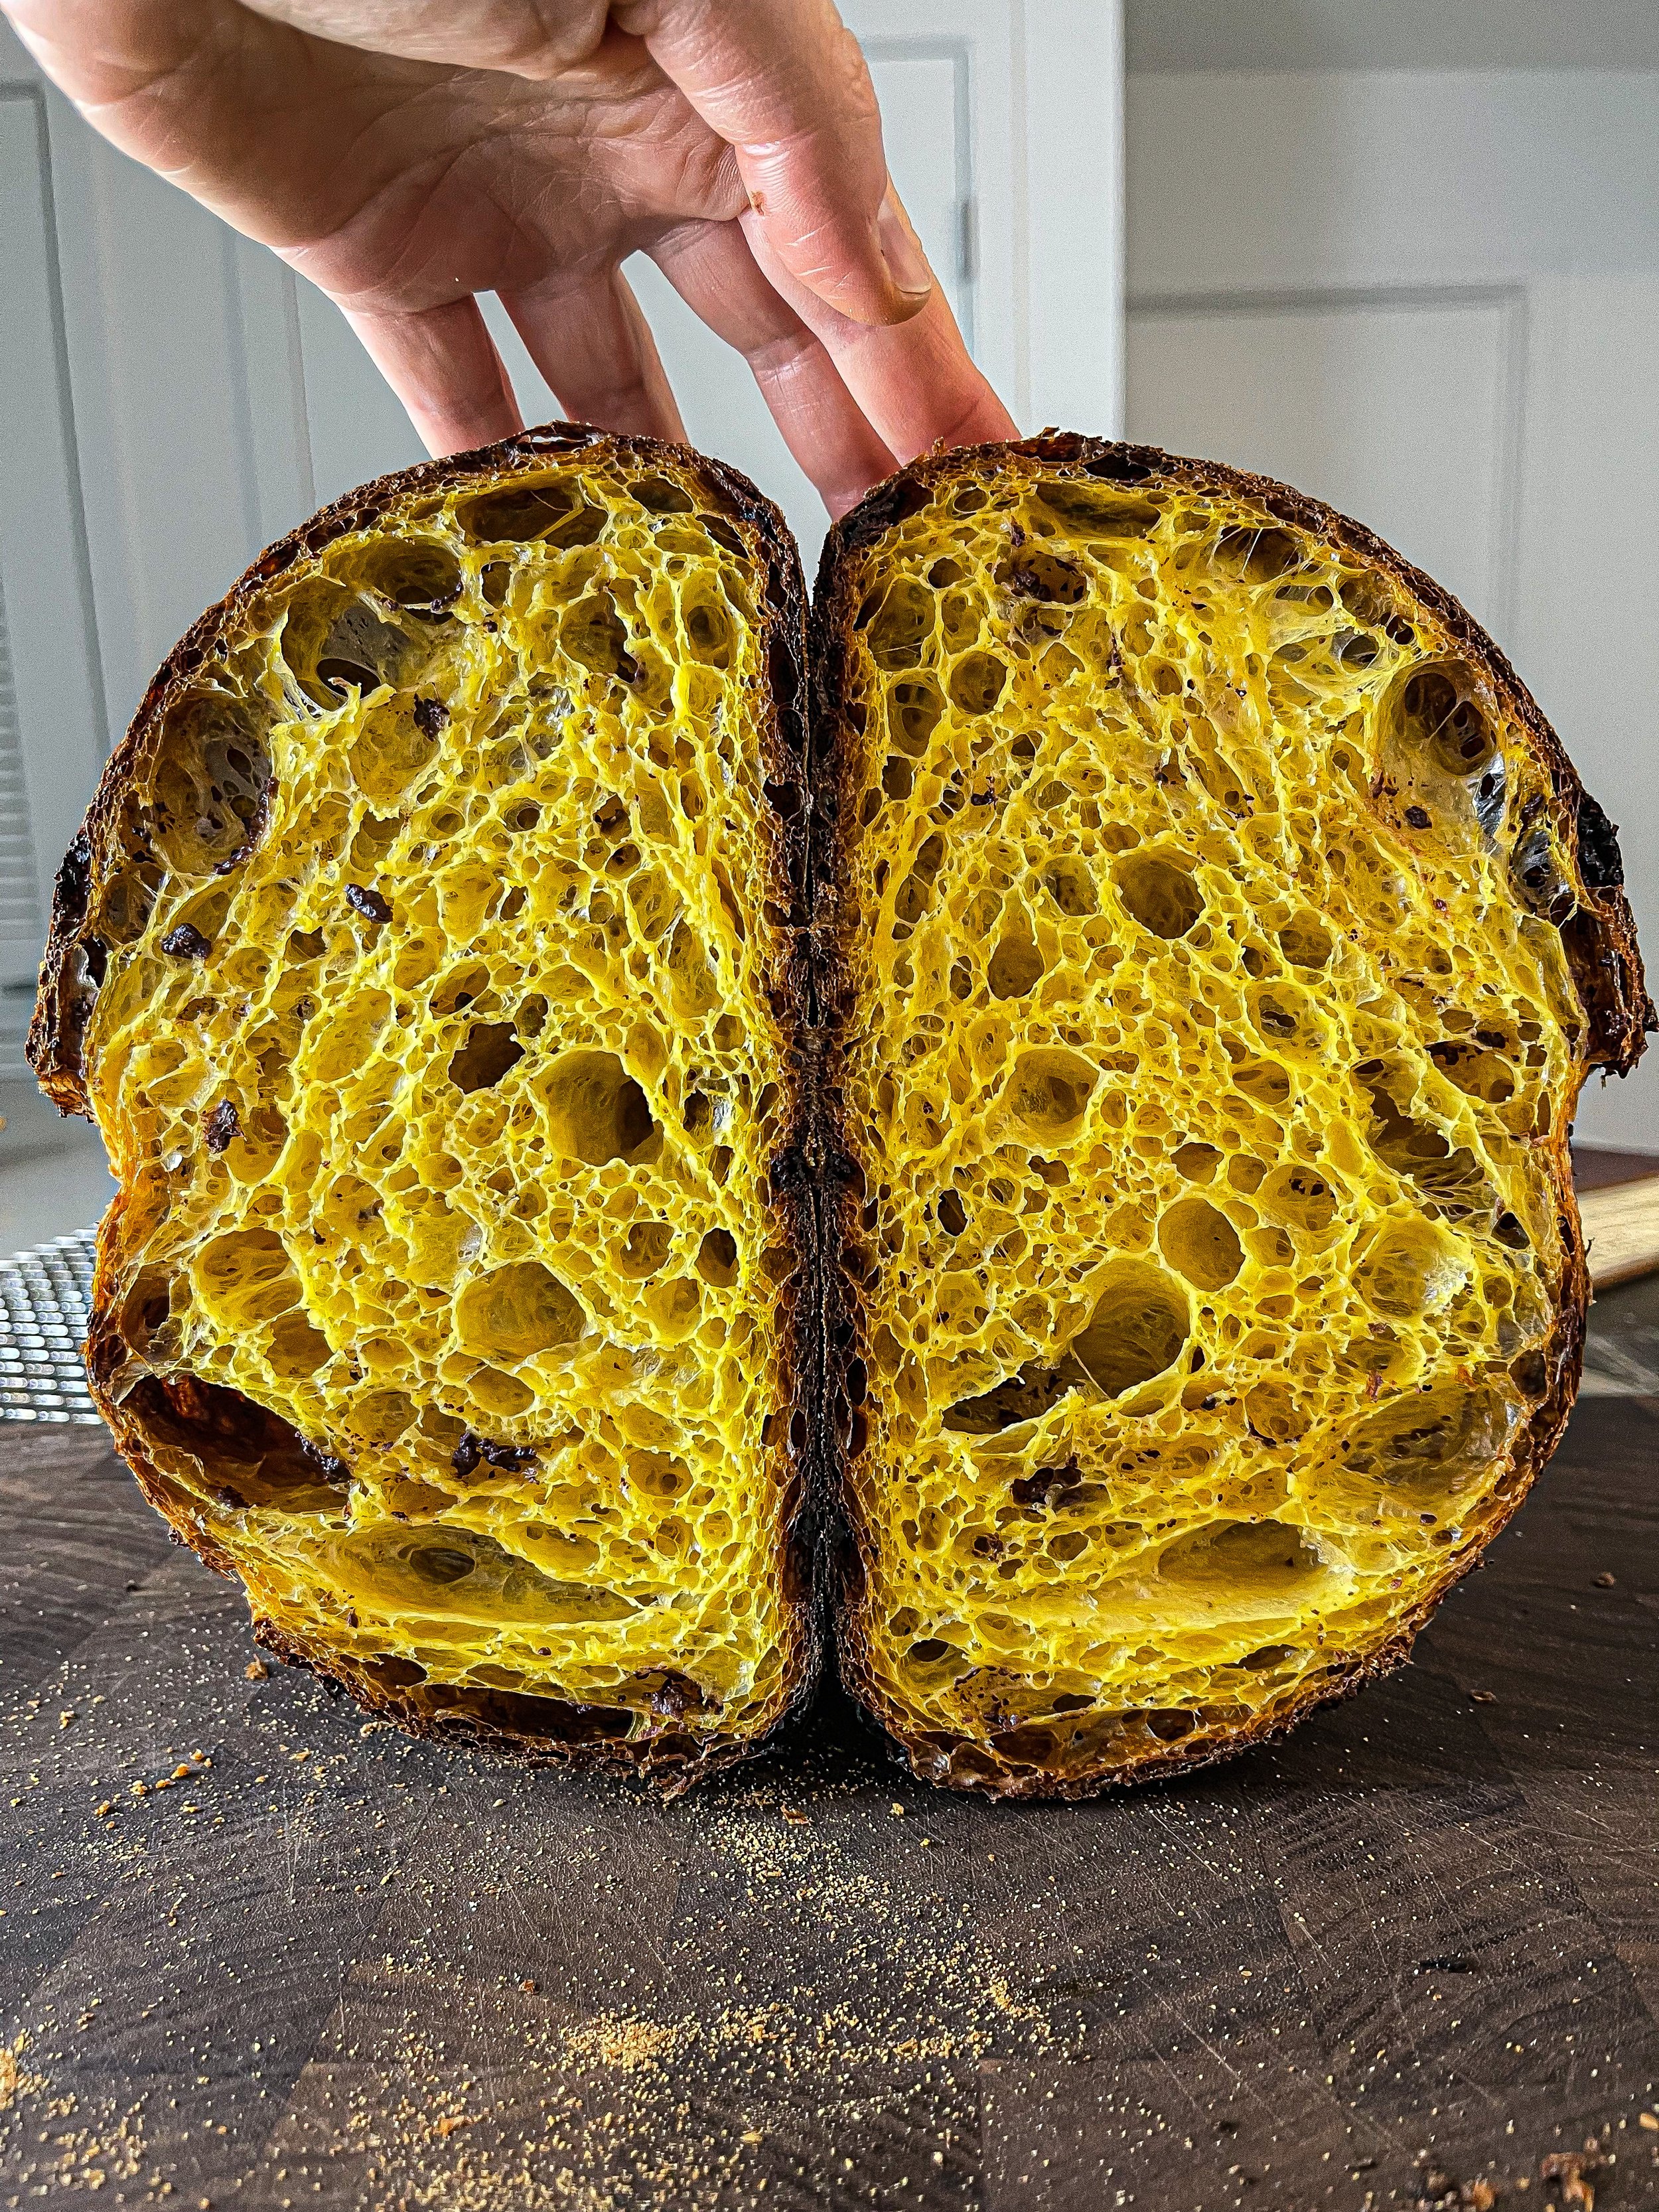
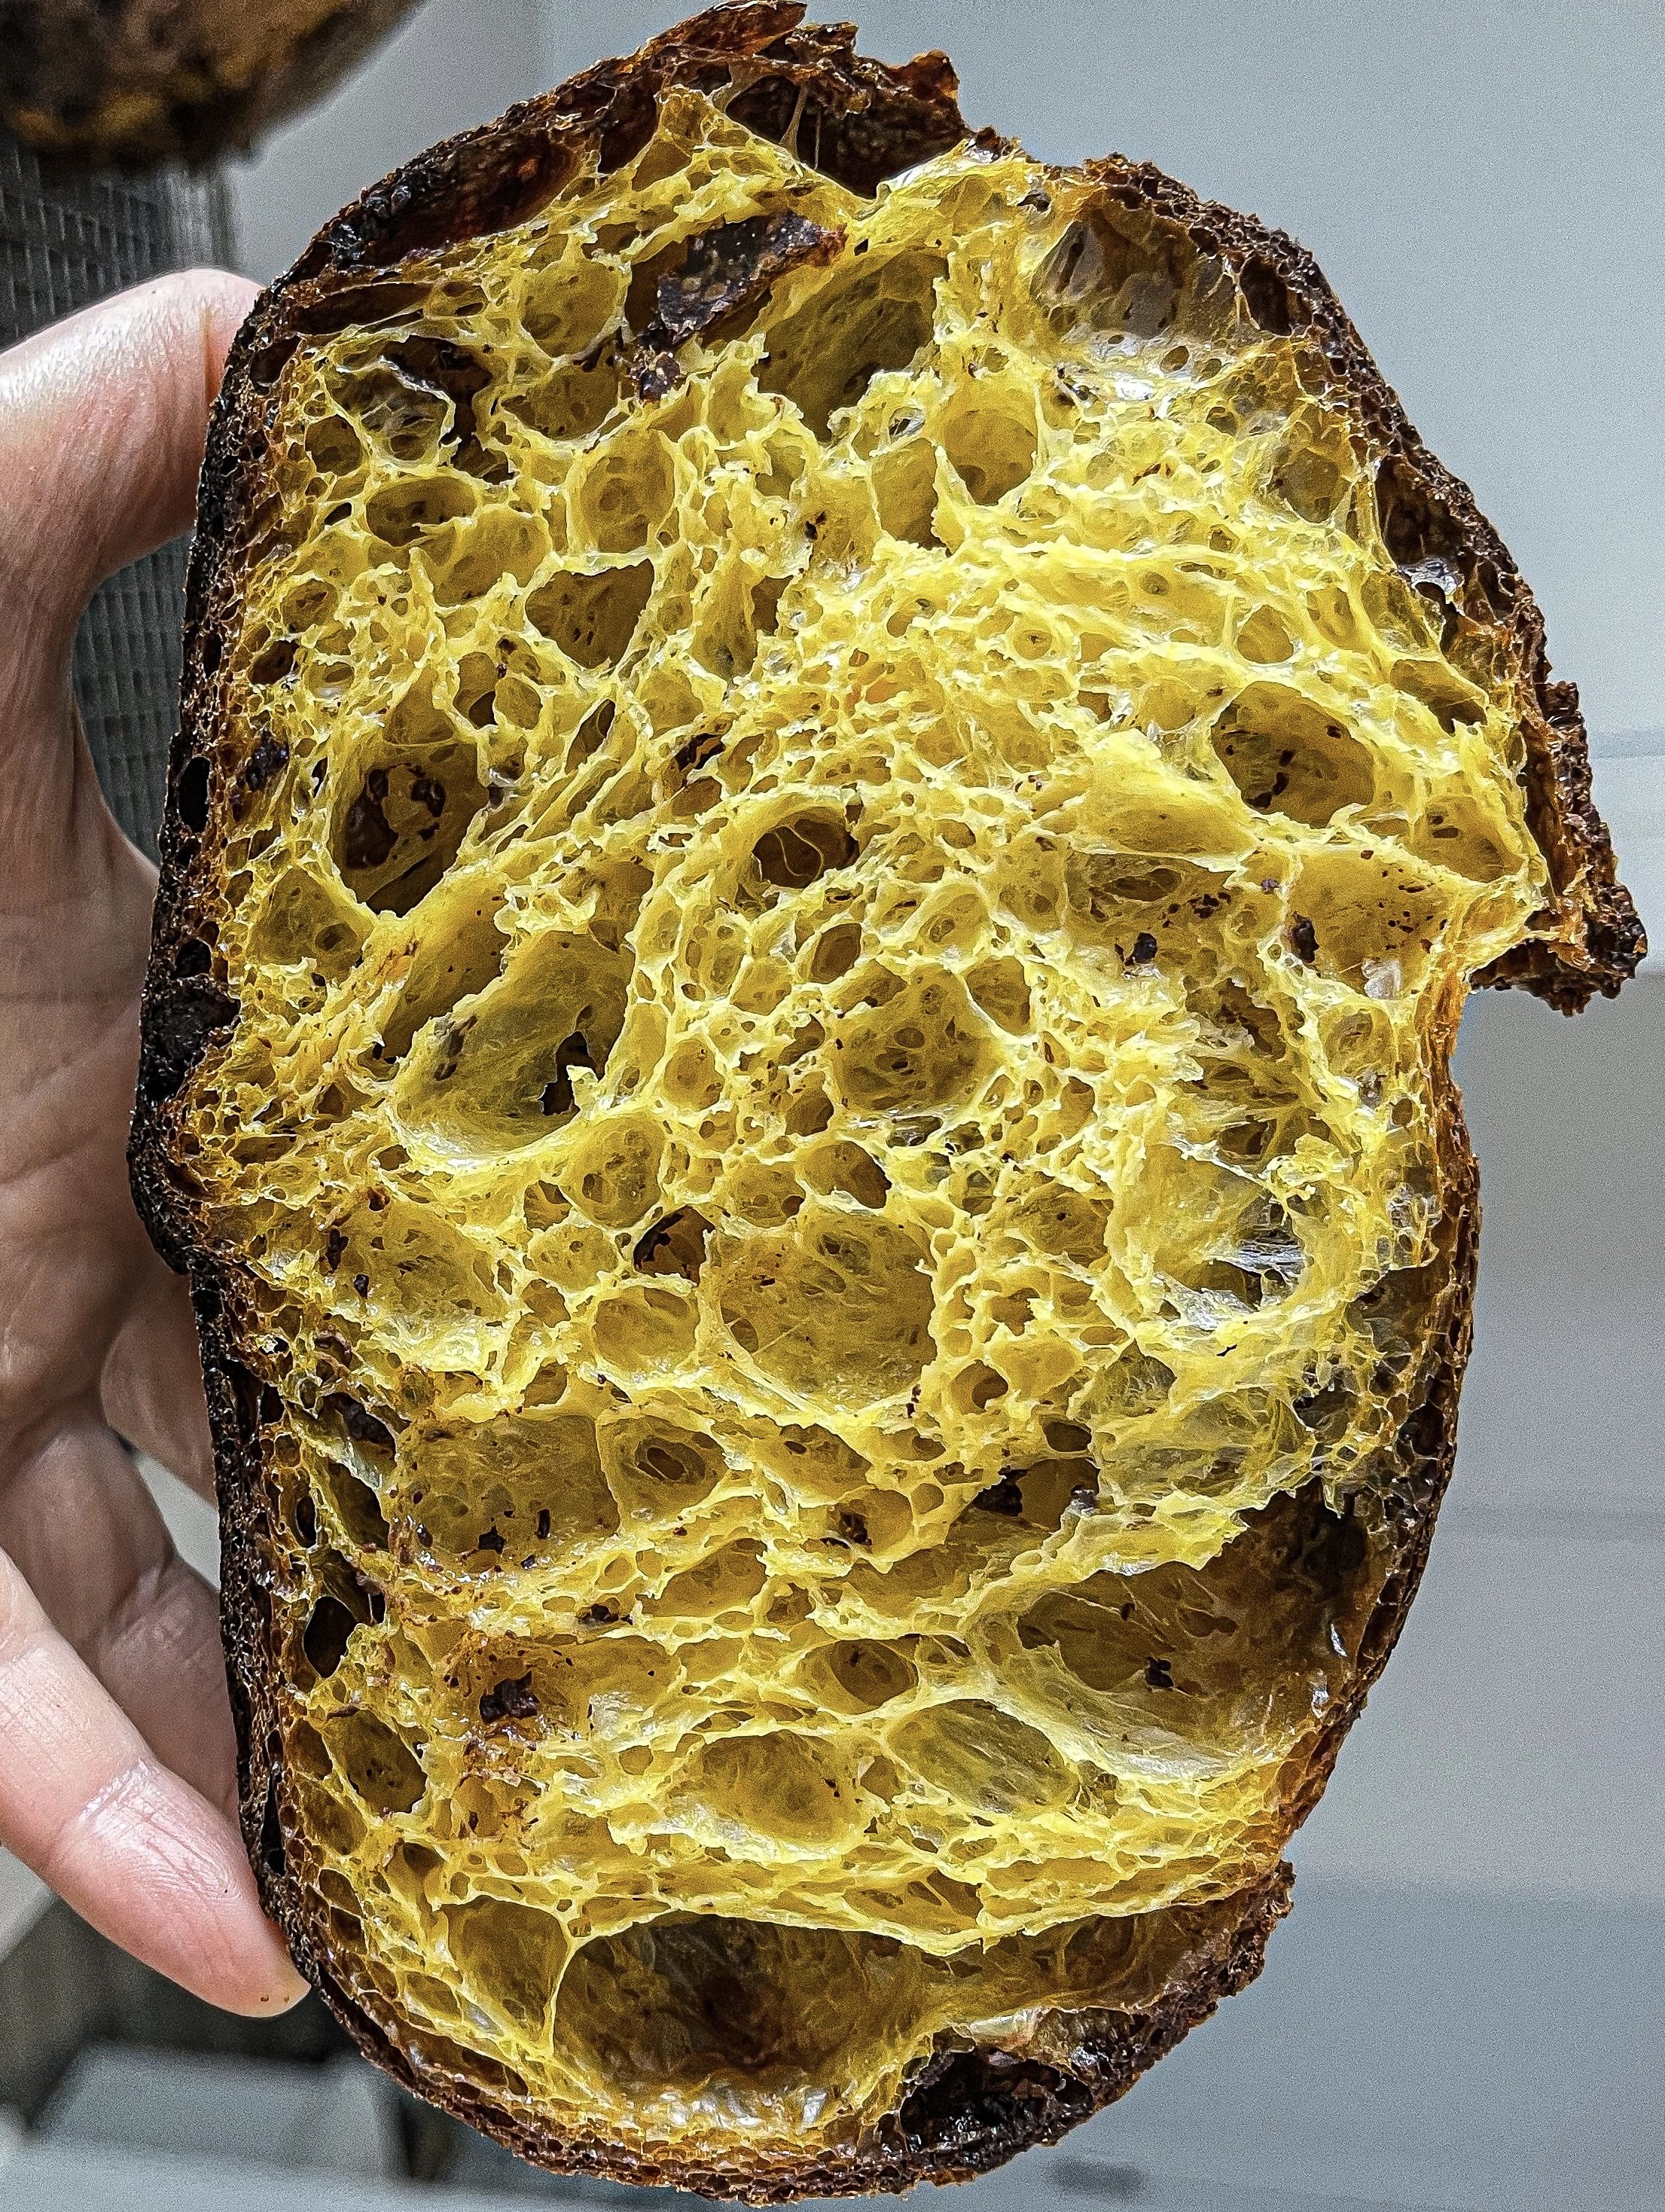
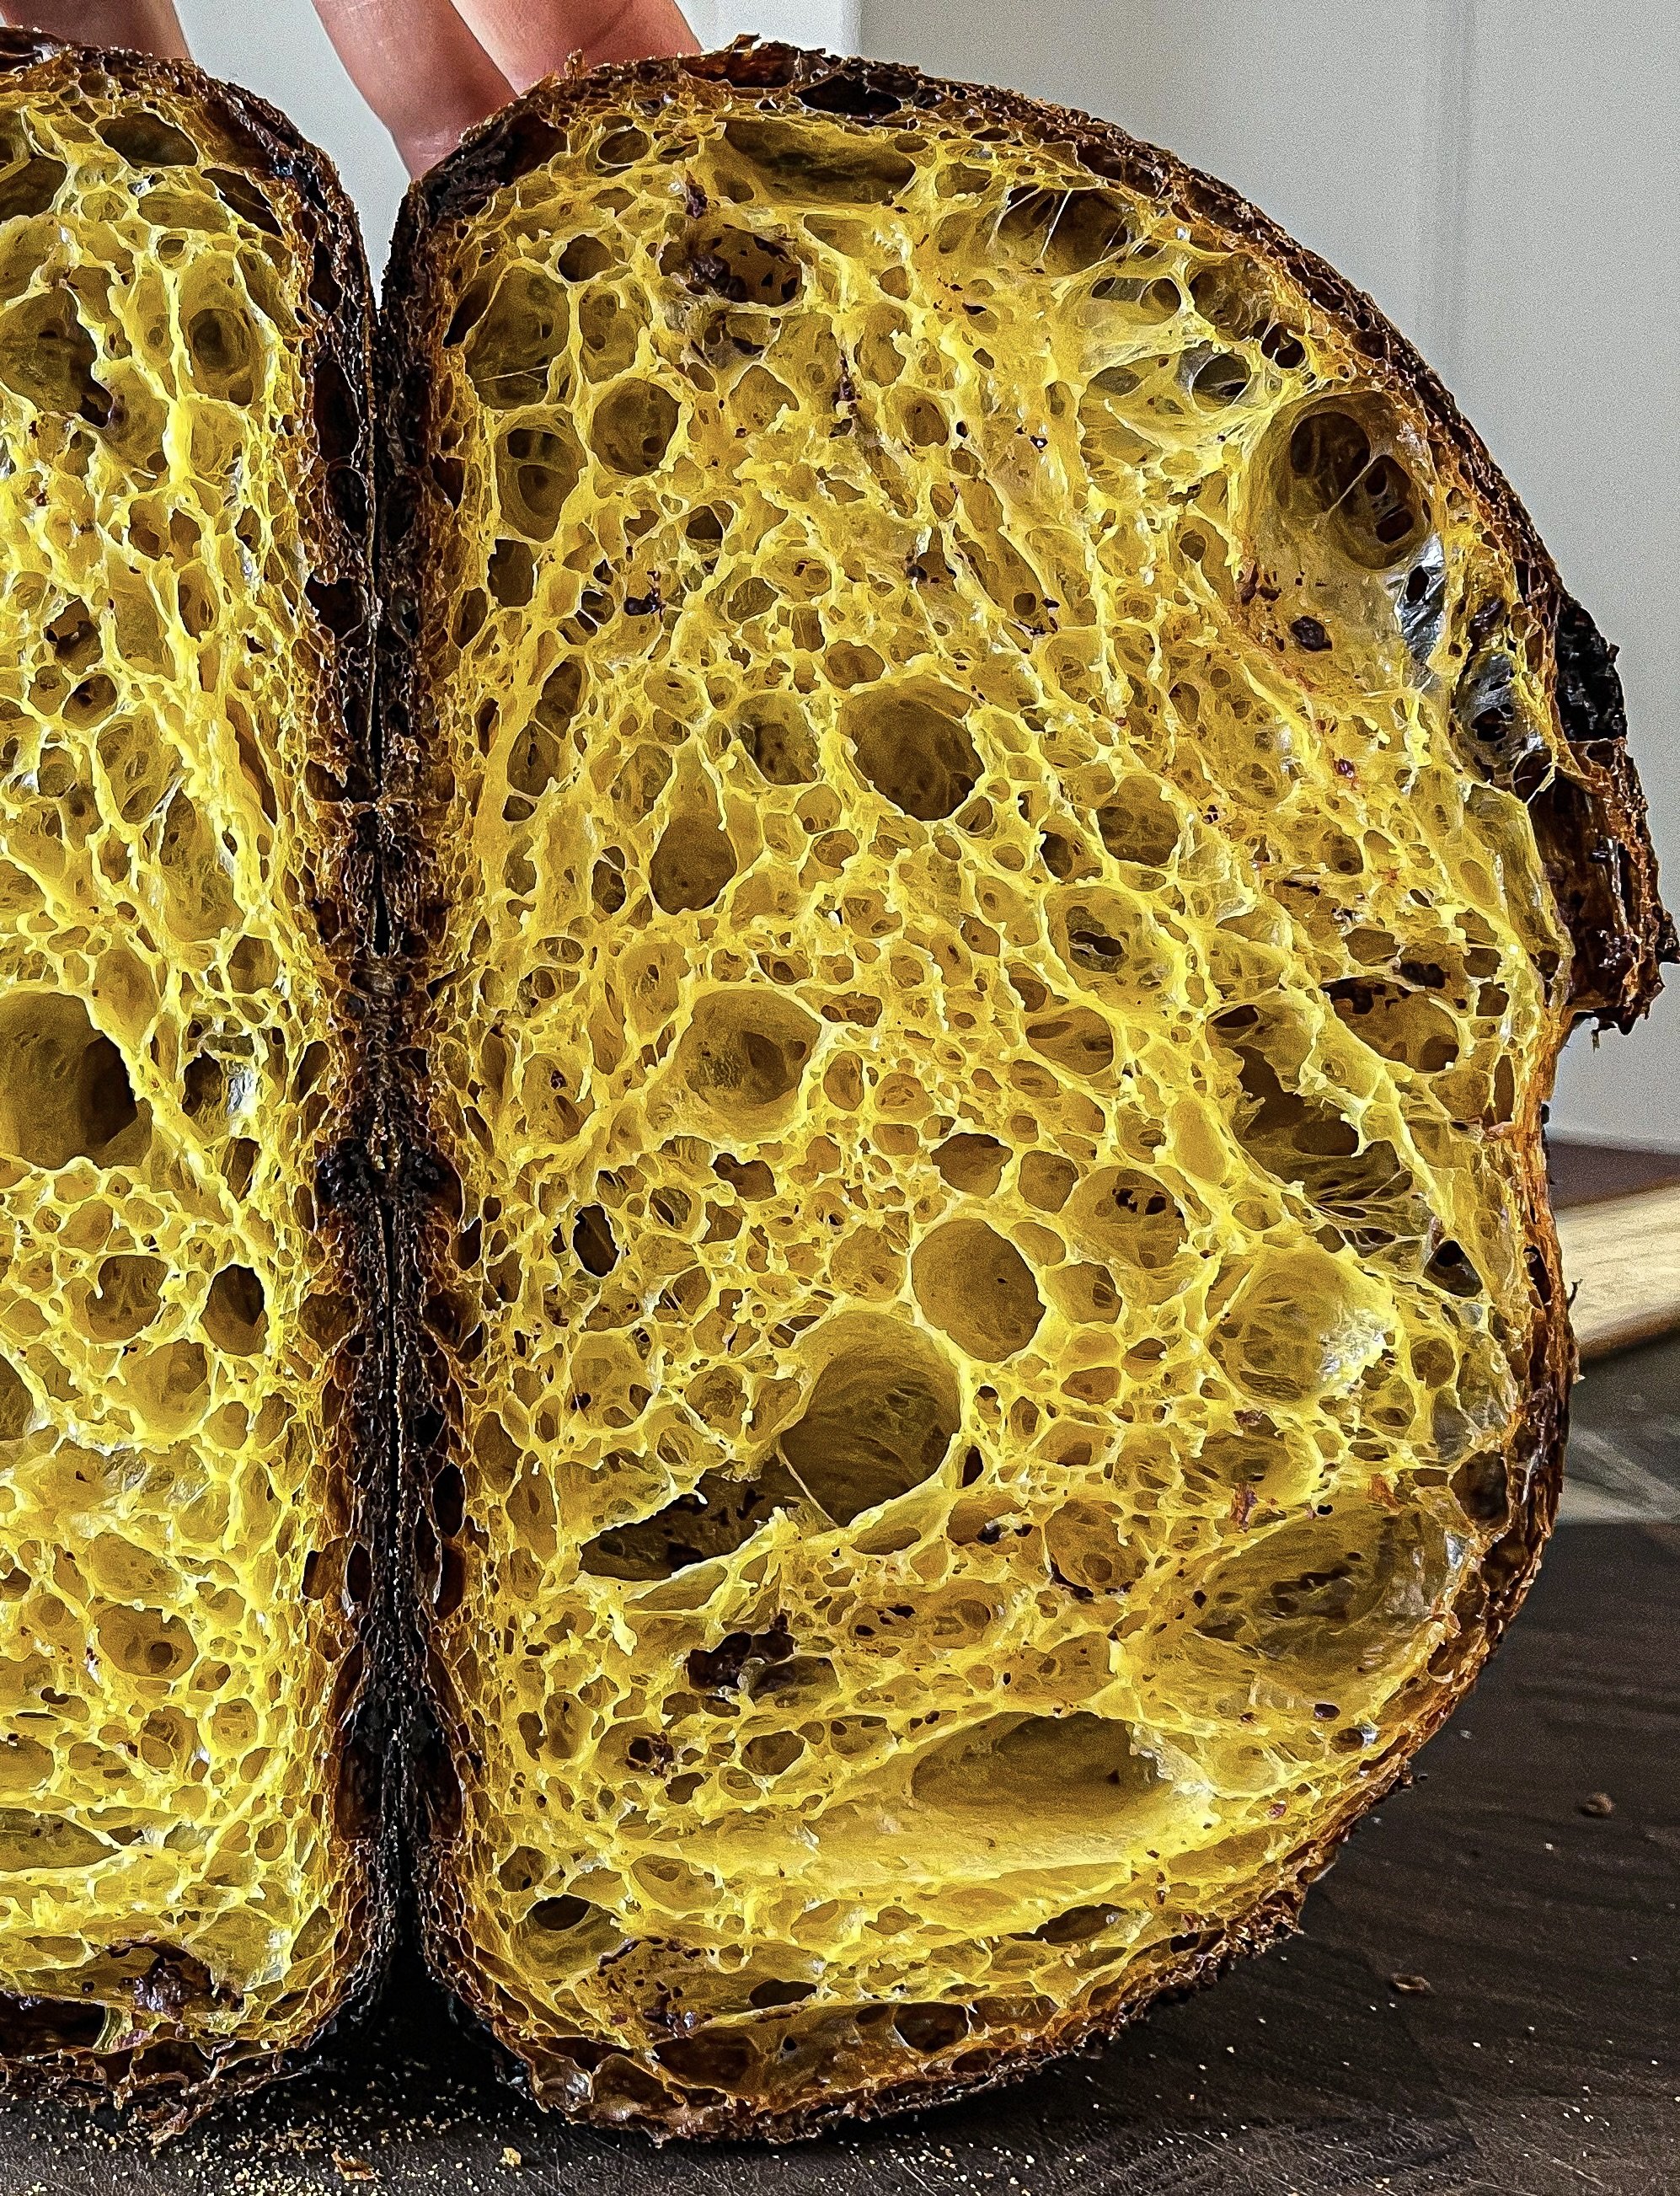
As you can see, the crumb is still so lacy and gorgeous, well fermented. The texture is smooth and soft. Fantastic flavor! Will be making it again with shorter bulk and will report back.
STEP BY STEP METHOD
INGREDIENTS:
350g bread flour( I used Bob's Red Mill artisan bread flour which has a protein of 12.5-13%)
170g baked pumpkin(measured after the water being squeezed out)
200.5g water+61.5g from one egg(total hydration 75%, without counting the hydration from the pumpkin)
70g active starter
7g salt
milk chocolate chips(I never measure the inclusions, just eyeball them)
1. Mix the water and the egg together and add it to the flour.
2. Do one or two hours autolyse. I had time for one hour autolyse.
3. After the autolyse, add the pumpkin. I baked mine in the oven until soft. I squeezed the water out using cheese cloth.
4. Incorporate the pumpkin very well mixing by hand or a short mix with a mixer.
5. Let the dough rest for 30min and add the starter. Mix until well incorporated.
6. Cover your dough and let it rest 30min
7. Add the salt and mix well. Let the dough rest for 30min.
8. Follow with one lamination and sprinkle the chocolate chips while the dough is stretched out on the counter.
9. Follow up with coil folds. I did only two but as I explained, they were not enough. Please observe the dough and even if it’s just half a fold, just do an additional one.
10. After the last coil fold, let the dough untouched to finish fermenting. My bulk fermentation was 9h but I should’ve shaped the dough after 8h. Watch the dough and observe how it’s developing. Keep the dough at 74-75-76F(24-25-26C) during bulk fermentation.
11. Shape the dough after bulk fermentation. Place it in the fridge.
12. Proof the dough overnight. My proof time was 14h at 38-40F(4-5C)
13. Bake the loaf straight from the fridge. I baked mine in a cast iron vessel. The first 20min with the lid on at 500F(250C) and additional 20min without the lid at 450F(230C)