
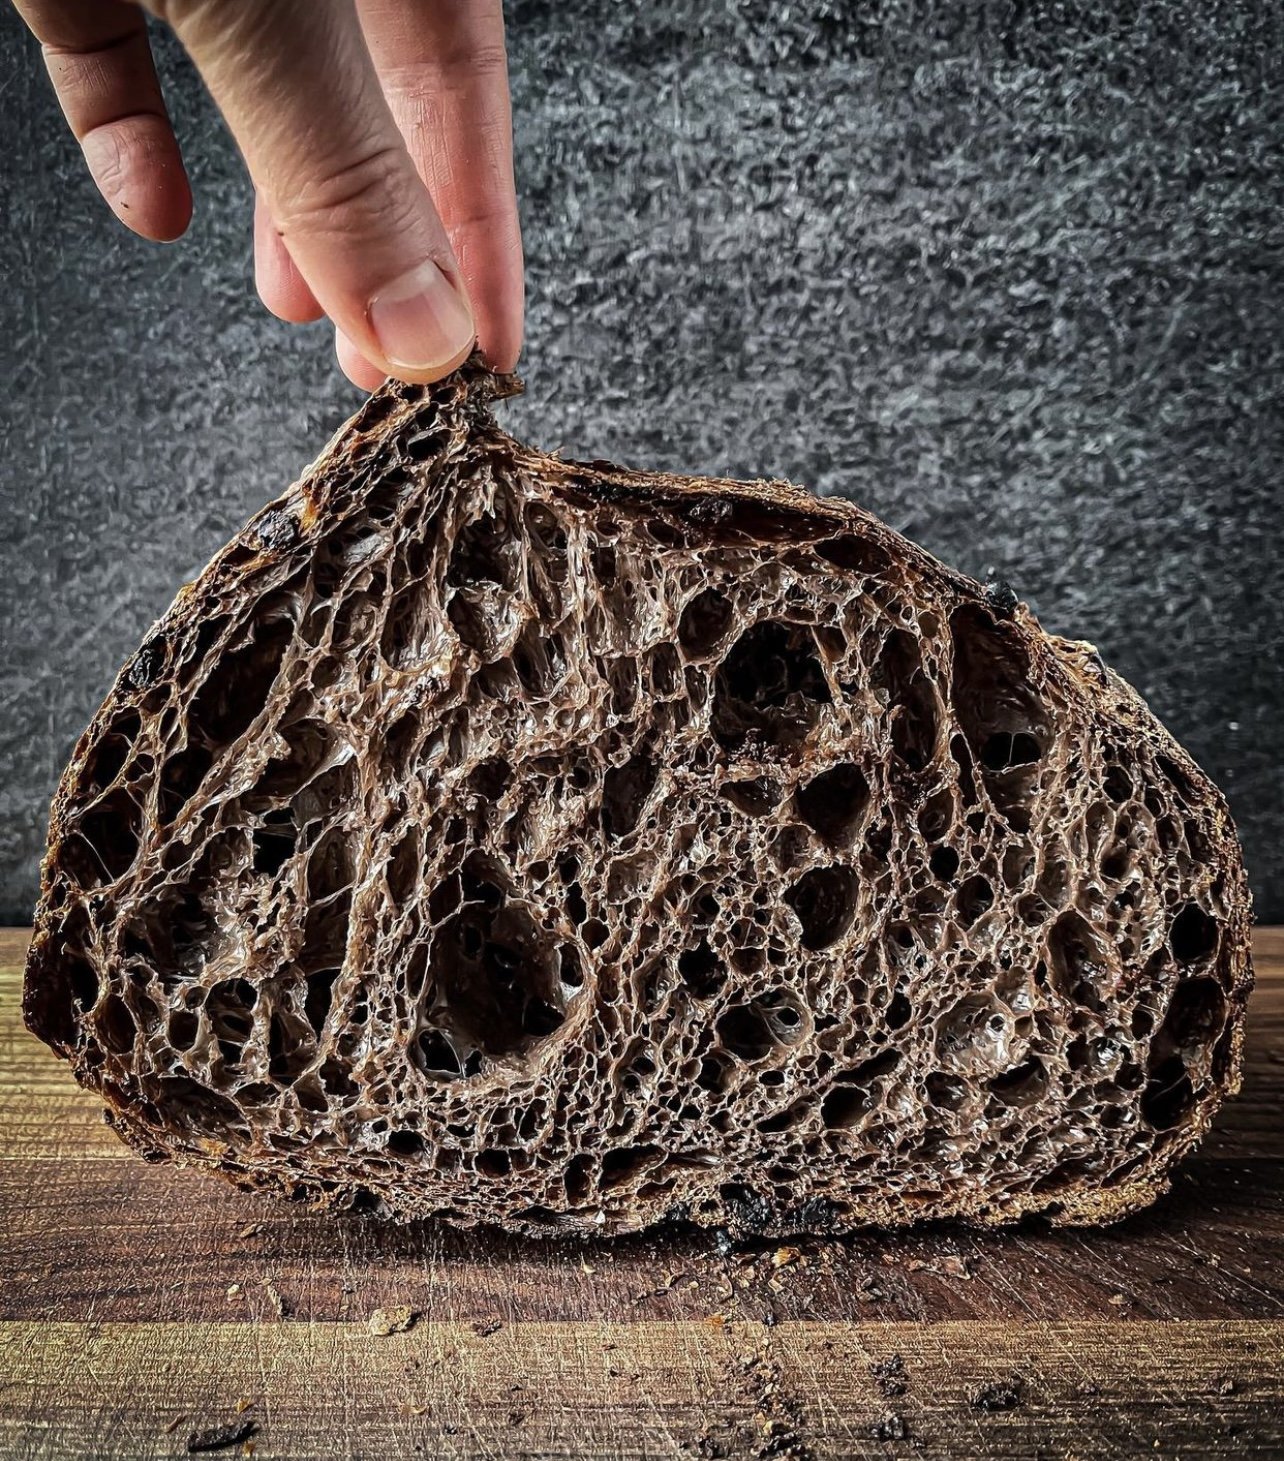
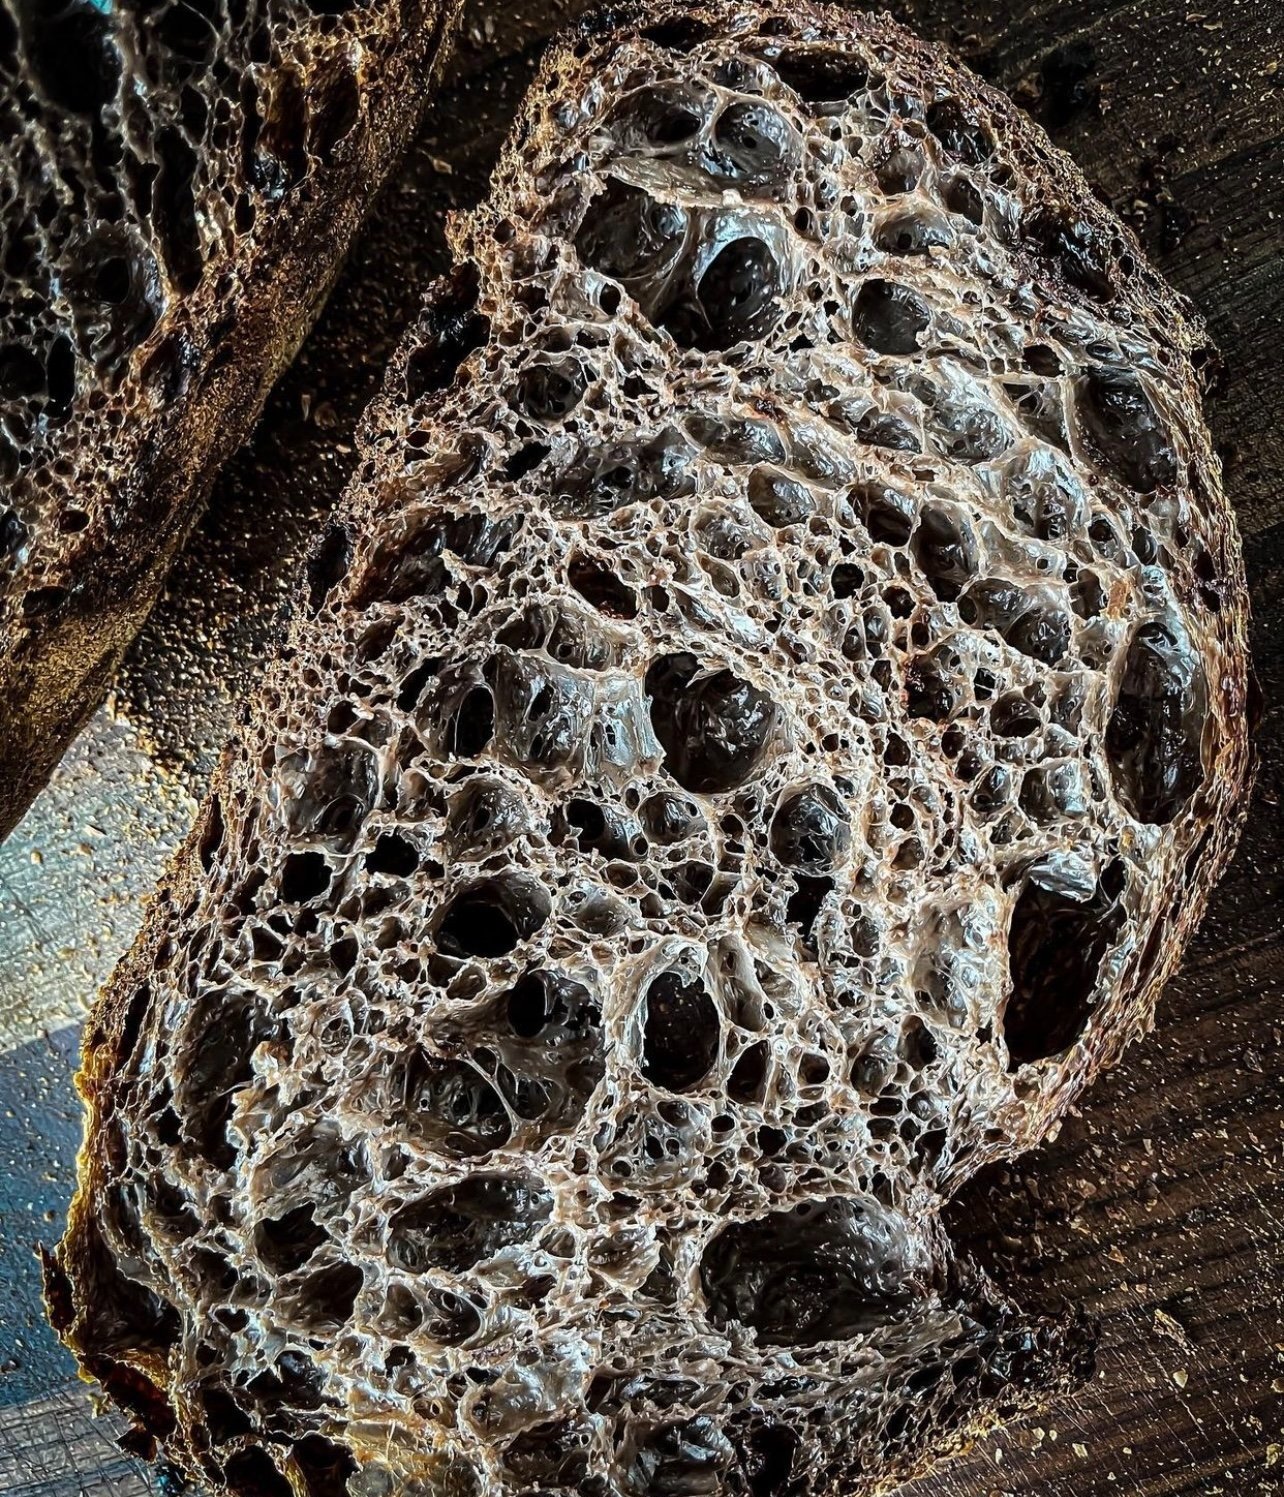
RICH CHOCOLATE CHIP SOURDOUGH
I guess I could say that this loaf was inspired by the chocolate panettone and all the other rich chocolate pleasures. It's meant to delight and uplift your afternoons and accompany your coffee. Add it even to your egg and bacon breakfast. The fact that it's chocolate sourdough, makes it more special and unique.
I've baked this loaf many times in the pursuit of that light and airy, well fermented crumb that would melt in your mouth along with the chocolate. But because of the cocoa, I was left unsatisfied and eager to keep chasing it. As we know, adding anything additional to our dough has its effects on the structure, on the elasticity and extensibility, on fermentation...Cocoa powder does just that when added to flour, water, salt. It greatly changes the behavior of the dough. I was determent to solve that and take it to the direction I wanted.

HOW COCOA AFFECTS THE DOUGH AND THE CRUMB
Adding cocoa powder to your mix of flour, water, salt, tightens the dough, it makes it kind of stiff, it affects its extensibility which will translate into your crumb. That brings the need for higher hydration to fight that stiffness and make the dough more relaxed and easy to work with.
Another great thing to do is longer autolyse which would further relax the dough and make it more fluid. In my book I discuss in great detail the benefits of longer autolyse and how it could contribute to open crumb. Have you read it yet?
Even when I added more water and longer autolyse to my process, I still wasn't completely there, where I needed to be with my crumb openness. I was fixated on that particular lightness of crumb and had to work for it. That's what bread baking is about, improving, improving.
So, one sleepless night, it just hit me, what if I lowered the amount of salt. Salt also tightens the dough, just like the cocoa. It also dehydrates the cells of the yeast and that changes the rate of fermentation. Just as cocoa changes the way the dough ferments. To balance that, I decided to add less salt to my cocoa-flour mix. Instead of adding the standard 2% salt, I added only 1% to loosen up the dough even more and create that much needed balance between elasticity and extensibility. You might ask the question: Does less salt make the bread tasteless? Not at all! 1% salt is still good amount to add flavor to your bread.
One important thing to watch for when adding less salt to your chocolate chip sourdough is the rate of fermentation. Your dough will ferment faster than usual and that is because the less amount of salt you add, the less dehydrated the cells of the yeast will be and they will work much faster on converting the starches into simple sugars which they will consume and produce CO2.
The chocolate chips, on the other hand, slow down fermentation, anything sweet added the the dough does that. That will be discussed soon on a different post.
So, you must watch your dough, not the clock! Take into consideration all of these variables.
STEP BY STEP METHOD
INGREDIENTS:
350g bread flour( I used Bob's Red Mill artisan bread flour which has a protein of 12.5-13%)
15g cocoa powder
317.5g water(87% hydration, the water from the starter is not included)
70g active starter
3.5g salt(1%)
chocolate chips(I never measure the inclusions, just eyeball them)
1. Add flour, cocoa powder and water to your bowl and do autolyse for 3h. Good temperatures for longer autolyse are 69-75F(20-23C) for example. You want to slow down enzymatic activity. I personally love doing long autolyse, a time for rest and dough smoothing. I talk a lot about it in my book.
2. After the autolyse, add your starter to your dough. Here I'm using a mature starter, which was 12.5h old, kept at 73-75F(23-24C) Make sure your starter is strong and active
3. Mix your dough with your chosen method(I mixed my dough with the Rubaud method) Mix for 1-2-3min and let the dough rest for 5-7min. Then mix again for another minute. Mixing the dough is very important, it's not just about developing the gluten but also about aerating the dough. After 3h autolyse, there's no need for a long mixing.
4. Cover your dough and let it rest for 30min
5. Add the salt and mix it well to incorporate.
6. Cover your dough and let it rest 30min
7. Follow up with lamination where you will add the chocolate chips. I prefer the mini chips but regular size is fine as well.
8. After lamination, transfer the dough to a bulking dish.
9. Follow up with 4 coil folds separated by 45min. After each coil fold, measure the dough temperature. I have best results with dough temperature 75-76-77F(24-25-26C)
10. After the last coil fold, let the dough untouched to finish fermenting. Keep the dough at 74-75-76F(24-25-26C)
11. For my dough, total bulk fermentation was 8.5h. Bulk fermentation begins from the moment we add the starter. The dough should look big and puffy, filled with gas, with rounded edges.
12. Shape your dough and place it in the bannetone. I shape right away, without pre shaping.
13. Place the shaped loaf in the fridge and proof it for 10-15h. My proof was 12h at 38-40F(4-5C)
14. Bake the bread straight from the fridge. Mine was baked in The Challenger Bread Pan. The first 20min with the lid on at 500F(250C) and additional 20min without the lid at 450F(232C)

